Document a conversational AI project with GitBook
Using GitBook as a collaborative documentation platform for a generative AI project
Conversational AI projects can be quite complicated as they may encompass dialogues, scripts, prompts, codebases, integrations, and other components. Documentation can help various stakeholders understand the key elements of the project.
There’s no shortage of ways to explain aspects of a project. Each method has its strengths and weaknesses in supporting various audiences.
Getting end users up to speed quickly: microcopy, explainer video, getting started guide
Keeping existing users aware of new developments: changelog, new features page, blog posts
Helping contributors understand how to use your project: README, style guides, kanban boards
Helping developers understand the codebase: docstrings, tutorials, sample projects
and, of course… much more (and many more examples for each!)
Documentation can be difficult to get right. As your project and audience(s) grow, documentation will need to evolve as well. Stale documentation can be frustrating for its omissions and outright inaccuracies. You need to put processes in place to keep material current and ensure it actually benefits the target audience. You’ll need to recognize when the current strategies and processes aren’t working and adjust them to meet the current needs of your audience and project.
Such effort risks being a distraction from other important work, though. Cumbersome processes can waste time on documentation that few use. And the more cruft there is, the harder it will be for your audience to derive value. Similarly, choosing a resilient medium is important. Video explainers can be great for visualizing steps and walking through processes in an engaging, clear way. However, a text file is easier to update and maintain. You need to pick the right format for the audience, purpose, and timeframe.
GitBook is a useful and flexible platform for developing and managing documentation for your conversational AI project. It can be used as a standalone platform to create documentation, and it supports a wide range of media types. However, the platform can also connect to your existing Git repository (ie., GitHub or GitLab) in a way that synchs changes between it and the repo. This lets the team work on one version-controlled documentation source while also giving them the flexibility to contribute in the way they find most convenient and comfortable.
In this article, we’ll integrate GitBook into a very basic generative AI chatbot. This chatbot answers questions about a job report and some other intents. It uses the NeMo-guardrails framework, which is designed not only to facilitate LLM-powered conversations but also to make it easy to ensure the chat has proper checks on exchanges (ie., guardrails).
This blog won’t dive into NeMo-Guardrails, nor will you need to run the actual chatbot project (Maybe that will come in a future post!). You can check out the docs in the NeMo-Guardrails repo if you want to try out the framework or the sample bot. 😉
To get started, copy the demo bot available in the NeMo-Guardrails repository. Be sure to preserve the folder structure. You’ll also need to push this demo bot you’ve copied to your Git account (GitHub or GitLab).
Once you have a repo with the demo bot, you’ll need an access token to give GitBook control over the repo. I prefer to use access tokens scoped to a specific project.
In GitLab, click on your repo. In the sidebar, click Settings > Access Tokens
In GitHub, click Account > Settings > Developer settings > Personal access tokens > Fine-grained tokens > Generate new token and then select the repository you created
Copy the token for use later.
With that done, you need to make an account at GitBook. Click Start for Free.
Once you are in your account, click + New. Then, click New space. A “space” in GitBook is like a folder. It can contain multiple files inside it.
By default, this space will be called “Untitled”. Rename it “Knowledge Base”.
Click Sync with GitHub / GitLab.
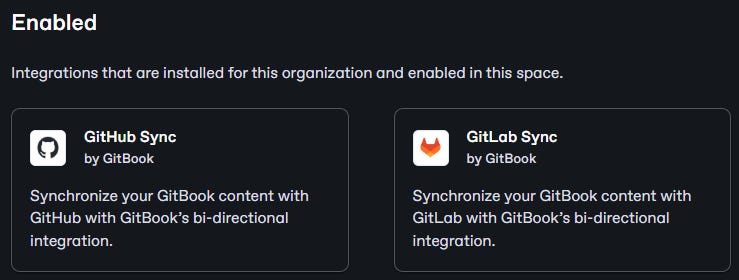
Click either GitHub Sync or GitLab Sync to install the appropriate integration for your Git account. While you can sync different spaces from different Git accounts, you can only sync a single space to either GitHub or GitLab, not both. Click Install.
Follow the directions to connect with your Git provider. If the app window suddenly closes, click Configure to finish the process.
After setting up the Git integration, you will need to configure an actual connection to the generative AI repository. First, select the project/account.
GitBook gives you the flexibility to choose which branch to connect to. This is helpful because your documentation can be set up for the appropriate part of your workflow. For example, staging documentation may be hidden for users while on main it is not. Choose the main branch of your repo.
Now, you need to tell GitBook what part of the repo the space should sync to. For a dedicated docs repository, you could sync to the root of the repository. It is also possible to target a single folder, such as /docs. Multiple GitBook spaces can target separate folders within the same repo should you want to do so. And multiple GitBook spaces can target the same space on separate branches.
In this case, the project already has a folder you can use - the /kb folder. This is a collection of documents with facts that the chatbot should draw from when making its response. Right now, there’s only 1 document. More documents would improve the chatbot’s ability to answer questions.
Conversation designers often work with subject matter experts to develop content. It can often be beneficial to give those subject matters access to scripts or documents so that they can comment or otherwise collaborate on its creation. The GitBook space we set up could help us do that.
Set the project directory to “./kb”
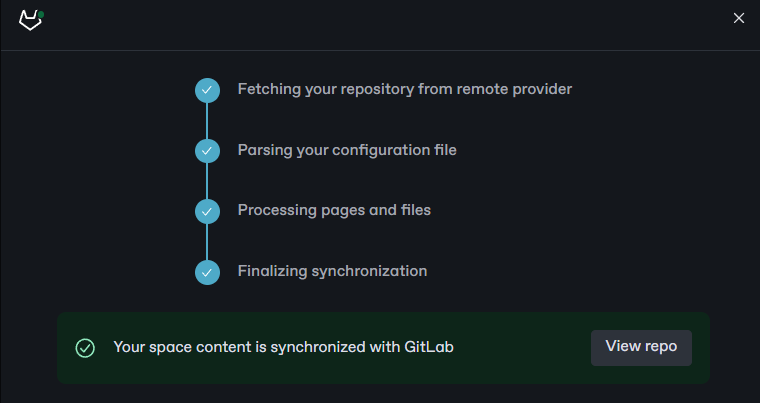
Now, click Sync. You should see the following if it’s successful. Congratulations, now the repository is connected to GitBook! You should be able to see the content of report.md in your GitBook now.
You can make changes to the content by clicking Edit. That brings up the tools to add, delete, and edit the content. GitBook supports markdown files. As RAG data for the chatbot, markdown formatting may not be that important. However, for user-facing documentation, the markdown format ensures your documents have clear formatting guidelines and conventions, which GitBook will translate to a clean frontend. Try adding a new document called “Jobs Report - March 2024”. You can just copy the content from the 2023 file into it. When you finish, click Merge.
In your Git repository, you should see that GitBook updated the repository with a standard commit. It’s possible to adjust the commit message and description, as well. If you made a push to your Git repository, you would be able to see the corresponding change in GitBook.
Back in GitBook, click Edit again. GitBook supports collaboration around making changes as well. You can request a review ( info icon > request a review > type in a reviewer > click Request review).
Also, you can add comments. Clicking the top-most comment bubble leaves a comment on the whole change. Or, you could hover over part of the text and click the comment bubble that appears to the right.
You can even see a version history of the proposed changes. To do so, click on the clock icon.
Now take a look at the synched Git repository. None of the comments, requests, or version history we saw in GitBook is there. These don’t sync. Similarly, adding the 2024 data document did not trigger a merge request, even though the changes were synched. Although similar, a “change request” in GitBook is not the same thing as a “merge request” in Git.
For teams that want close collaboration, this disconnect could cause confusion. Clear processes should help people understand what should be done where.
So far, we’ve set up GitBook for an internal team to work with knowledge base content. However, the users of this chatbot might find some benefit in reading the actual source material. Ideally, our chatbot might spark their interest in reading further about the topic. It would be great to make the knowledge base articles available to users, but it’s also necessary to ensure they can’t edit them.
To do so, click on the space name. Then, click Share > Publish to the web > and activate Publish this space to the web. Upon doing so, the documentation is available at a live URL. You can share a link with users. Now users would be able to review the bot as well as the long-form content. Users who visit this link will not be able to make changes to the articles, so they’re still secure.
Documentation can play a key role in helping various stakeholders understand a project. GitBook can be a flexible and powerful platform to support a project with its documentation needs. It allows people to work with a single source of truth - the repository - in a convenient way. Additionally, it handles hosting and sharing documentation. GitBook has many more interesting features than what we’ve covered here, such as a Slack integration that turns your conversations into a knowledge base of sorts for your team members. It’s worth checking these features out and considering how you might apply them to your conversational AI projects.
If you’d like to work more with GitBook, here are some things you might think about and try to implement:
NeMo-Guardrails uses FastAPI, which automatically generates API documentation for a project (if you follow its conventions). If you run the NeMo-Guardrails server, you can view the API documentation at localhost:8000/docs. That’s great. Remember that there are many different approaches to documentation, so it doesn’t all need to be in GitBook. What other documentation is missing from this chatbot project that could be helpful?
What processes and adjustments would you make to the GitBook/repo connection based on a workflow that had a staging branch and a main branch?
This article uses a simple monorepo structure for the project. How might you use GitBook in a multi-repo project to centralize documentation?


