Introduction to Mycroft: Setup
Mycroft is an open-source voice assistant. While the company behind Mycroft offers hardware for purchase, you can deploy Mycroft on a Raspberry Pi. This is known as Picroft. This guide will walk you through setting up your Raspberry Pi for Mycroft.
Necessary Materials
Raspberry Pi B, B+, or 4
Compatible microphone
Compatible speaker
A monitor
A keyboard
You can view more about the hardware requirements and recommendations in the Mycroft documentation. Hardware not listed may still be compatible with Picroft. I use a Blue Snowball microphone and USB speaker not listed among the recommendations and can still use the service well.
Preparing the Picroft Image
First, you need to download the Picroft disk image. To get the most current link, you can view the Mycroft documentation and click Picroft stable disk image.
Next, you will need to download the Raspberry Pi Imager.
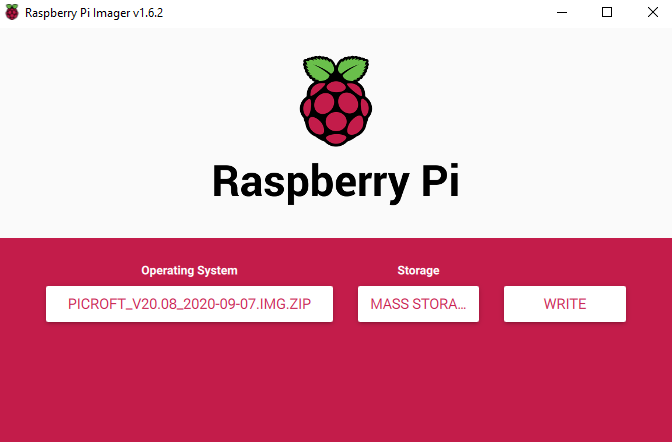
Open the Raspberry Pi Imager.
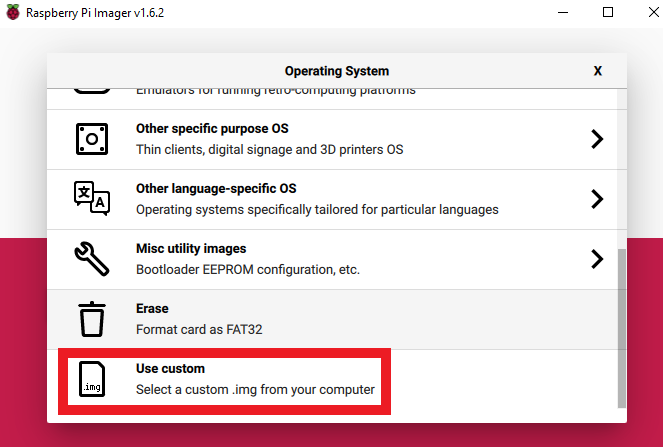
For Operating System, select Use custom. Then, find and choose the Picroft disk image you downloaded.
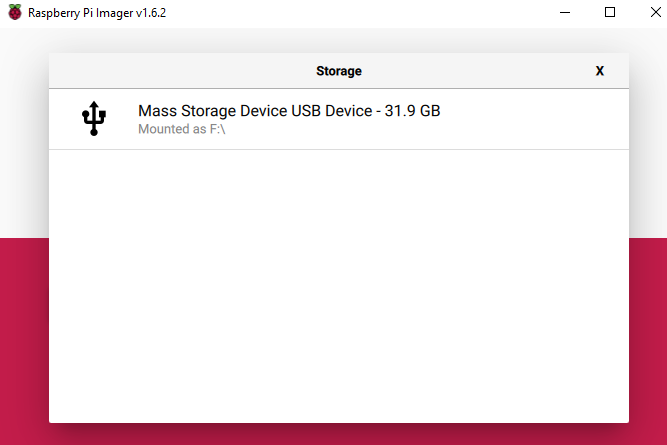
For Storage, select your MicroSD card.
Choose Write. It will take some time to burn and verify the image to the card.
When the imaging process is complete, click Continue in the Raspberry Pi Imager. You may get a message from your operating system that you need to format the drive. However, you should not do that as it would overwrite the image you just created.
Setting Up Picroft
Now, you need to set up your Raspberry Pi with Mycroft. Connect all the required devices – microSD, microphone, speaker/headphones, monitor, and a keyboard – to the Pi before you plug it into a power source.
After you plug it into a power source, the Pi will start to set itself up automatically. You will see lots of output on the screen. When Mycroft asks “Would you like help setting up your system?,” press Y.
The guided setup will take you through a series of questions to help you configure your environment. You will need to select the internet connection, audio output method, and audio input method. After you set the audio options, you will have the opportunity to test them. However, you may not hear the output because the configuration file needs to be adjusted. At this point, if you have connected your audio devices but cannot tell if they are working, just select yes and move forward in the installation process. We’ll test the audio devices later, and you can adjust these settings if necessary.
For the final configuration settings, it’s probably best to stick to the recommended options. Choose 1 for both settings.
The final setting asks you whether you would like to enter a password. Press Y, and enter your password.
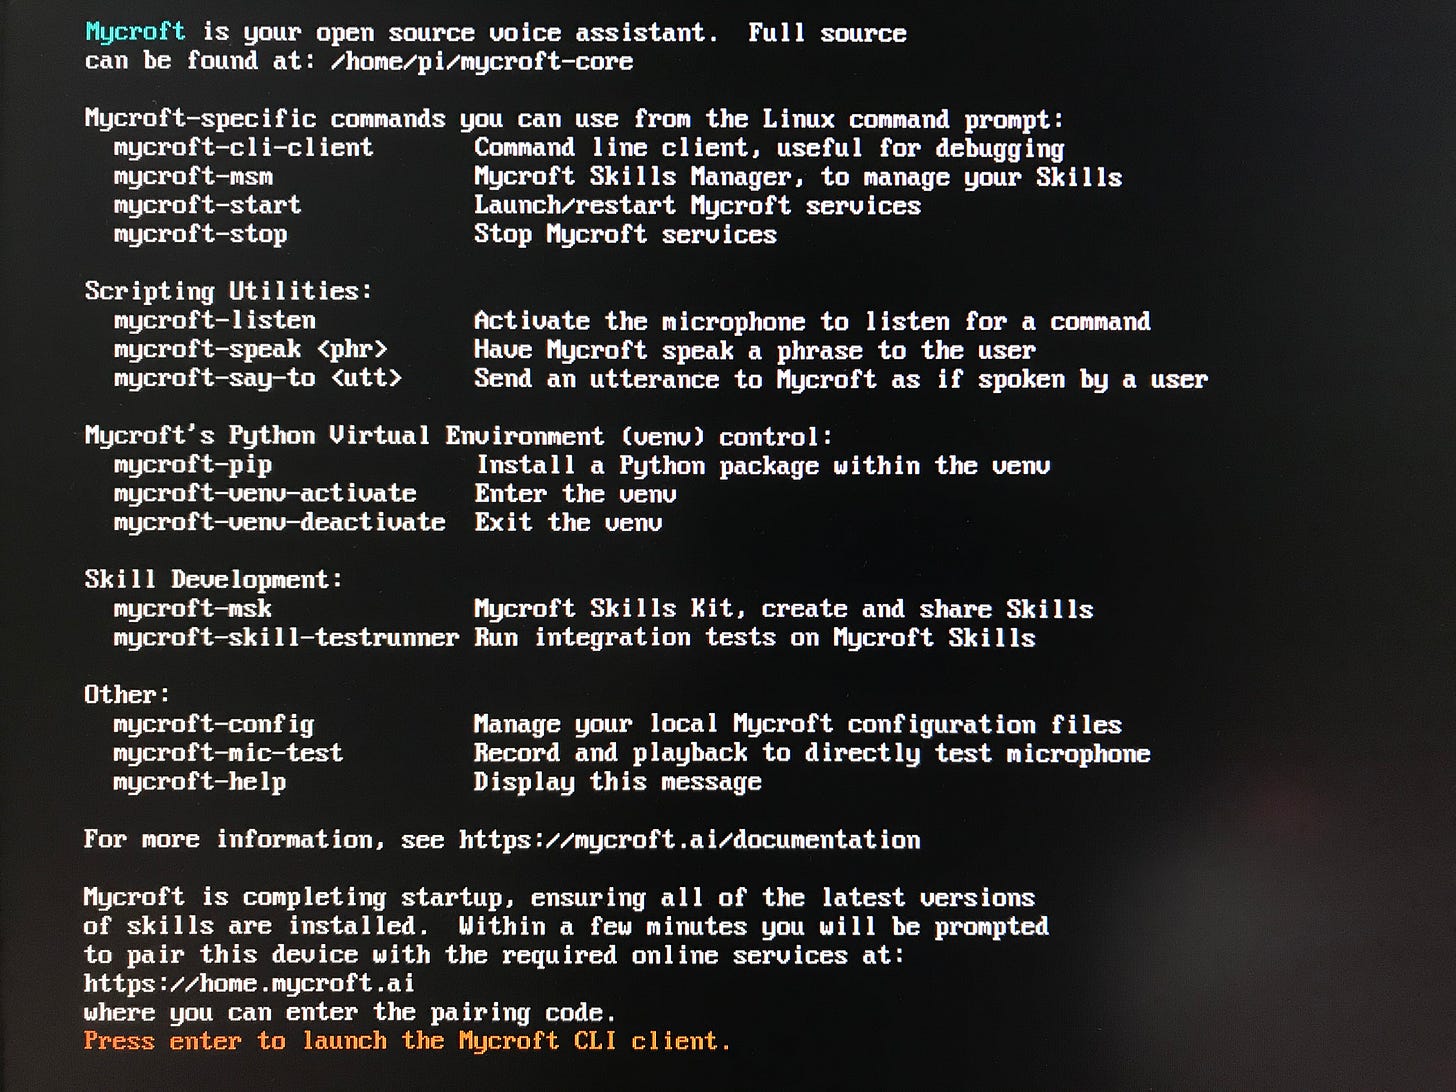
Now, Mycroft is set up. It will display a list of useful commands. Save these commands for easy reference in the future.
You can launch Mycroft’s command line interface by pressing any key. For now, though, we still have some set up to do for our audio. So if you are in the Mycroft CLI, press Ctrl+C to exit.
If your audio device has no output sound, you may need to adjust the configuration file. The commands differ depending on what type of device you are trying to use. Open the configuration file by typing sudo nano /etc/mycroft/mycroft.conf.
For an audio device that uses the jack, change play_wav_cmdline and play_mp3_cmdline from hw:0,0 to hw:1,0.
For an audio device that uses the USB port, update the settings to match the lines below:
“play_wave_cmdline”: ”aplay %1”,
“play_mp3_cmdline”: ”mpg123 %1”
Type mycroft-mic-test. Speak into the microphone when prompted. You should hear your audio sample played back. If you still don’t hear anything, your microphone and/or speaker may be incompatible. You would need to try different hardware and rerun the guided setup.
With the audio working, you should be able to hear Mycroft now. Type mycroft-cli-client. Eventually, Mycroft will tell you that you need to register and will provide a code. Mycroft repeatedly says this at intervals until you register the device, so it may take some time to hear the code again.
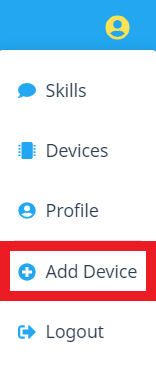
Go to account.mycroft.ai. Create an account. After you make an account, you may need to set up some defaults for your devices. After doing so, from your account menu, click on Add device.
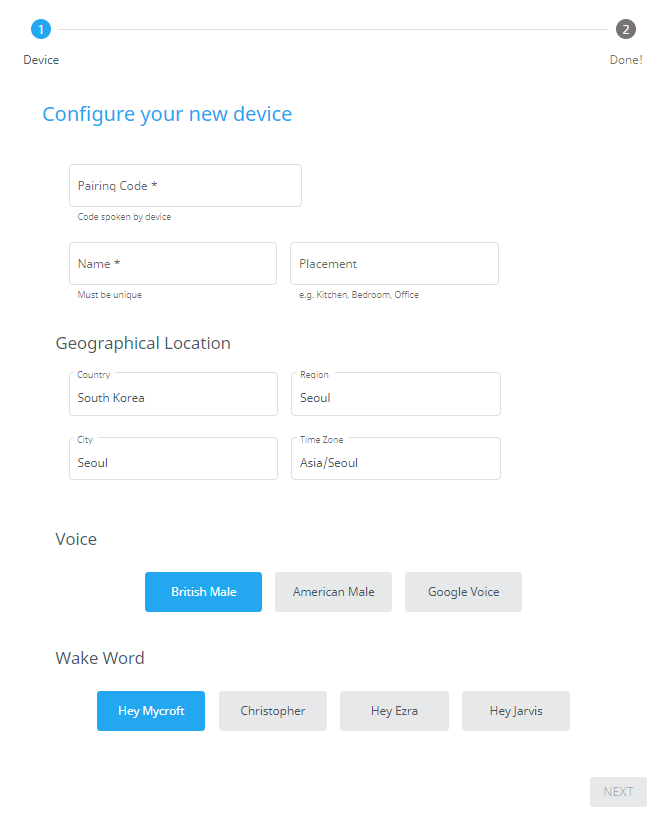
Fill out the form with the pairing code and other information.
Once you finish the form, Mycroft will automatically recognize that you have registered on the website. It will make some recommendations about what you can ask.
Now that you have set up your Picroft instance, try it out by asking some questions.
In a future article, we’ll cover how to make a test skill!
Resources
Getting started with Picroft Official Documentation
Picroft audio jack output problem
Picroft sound testing and settings


